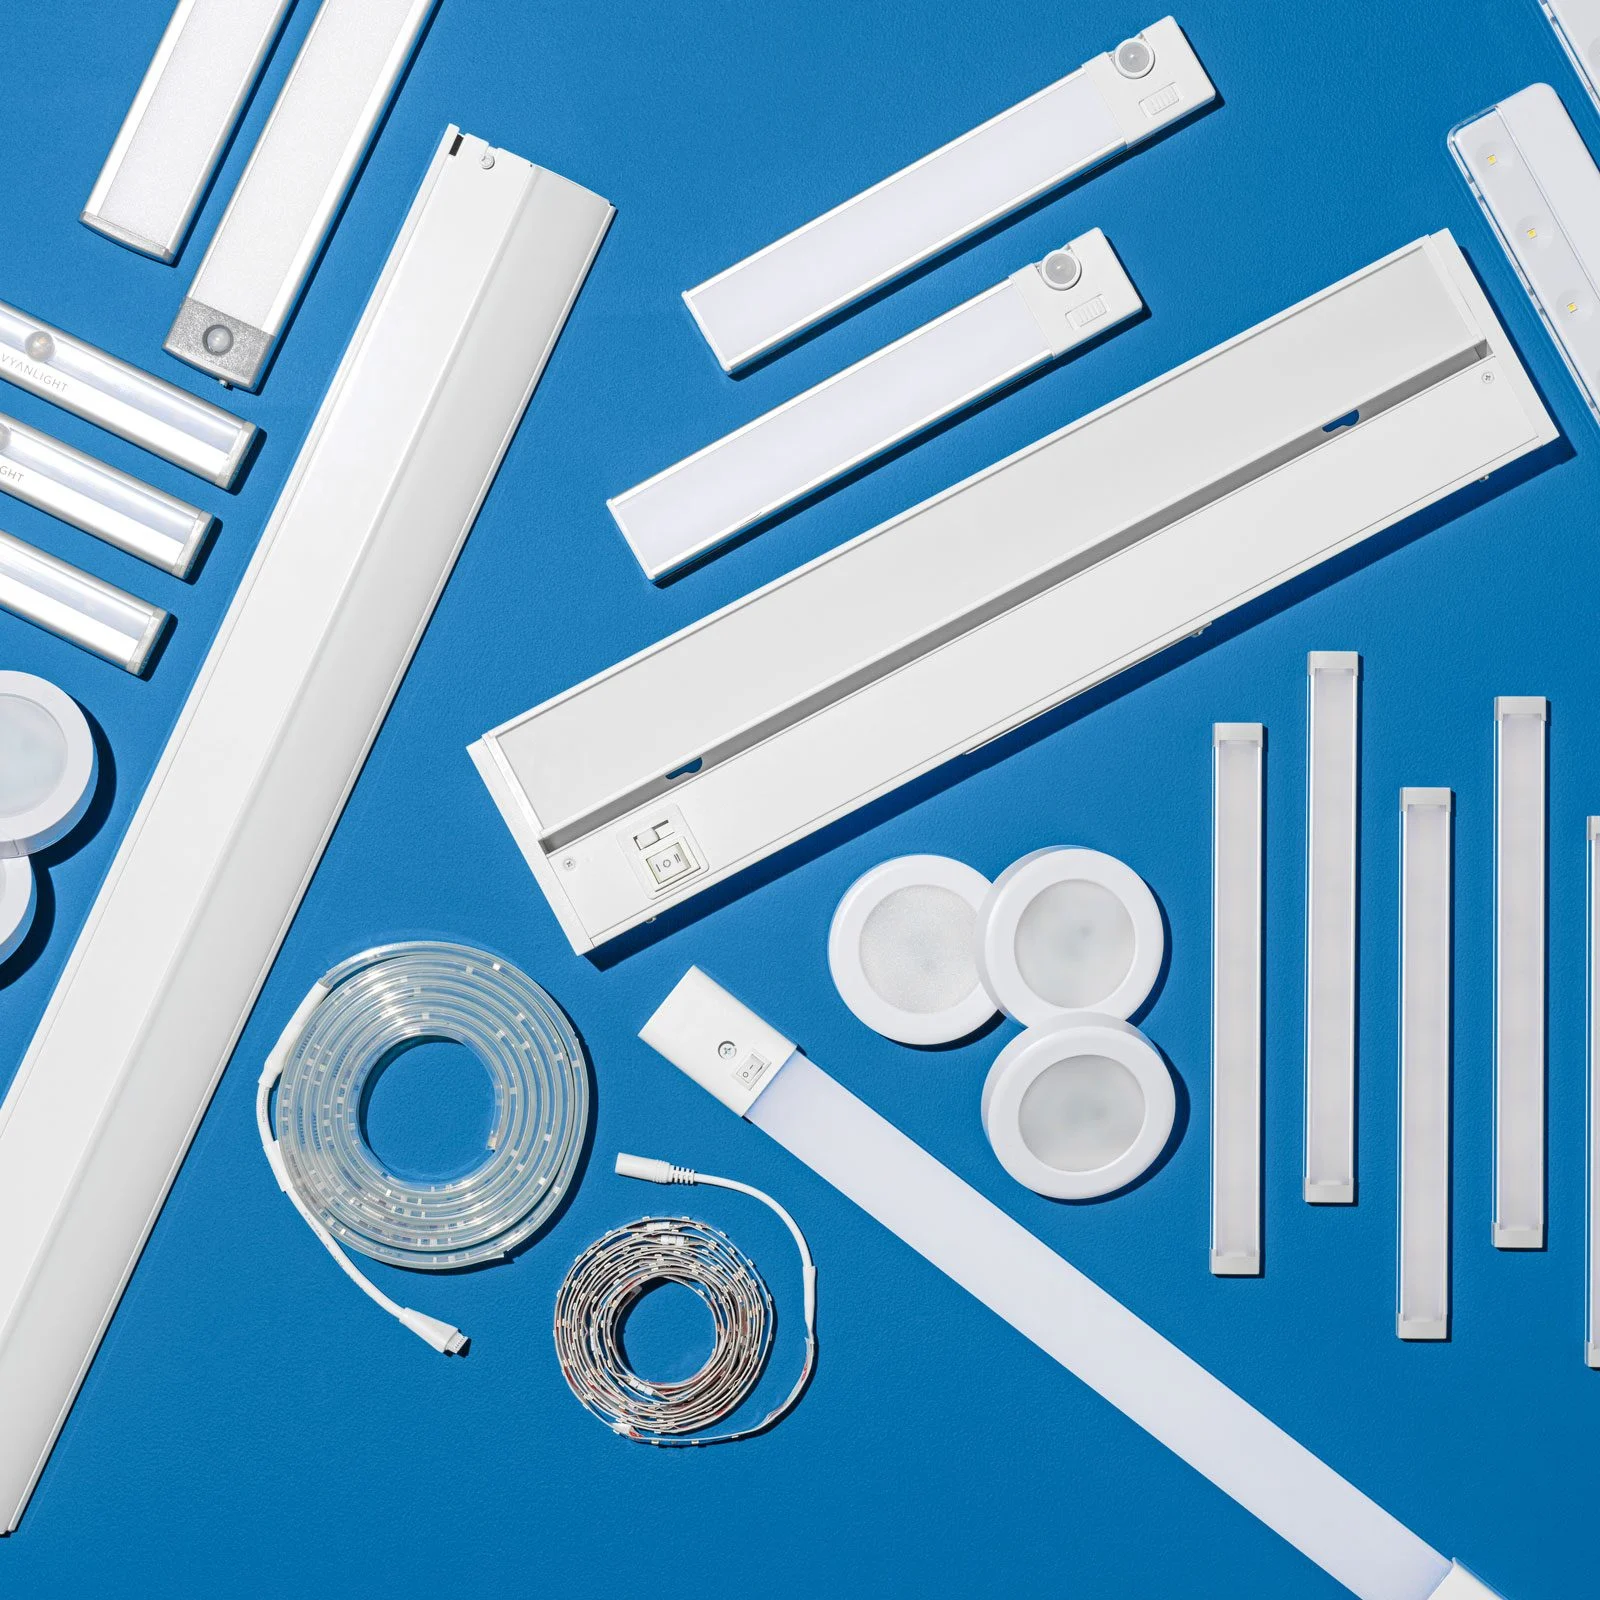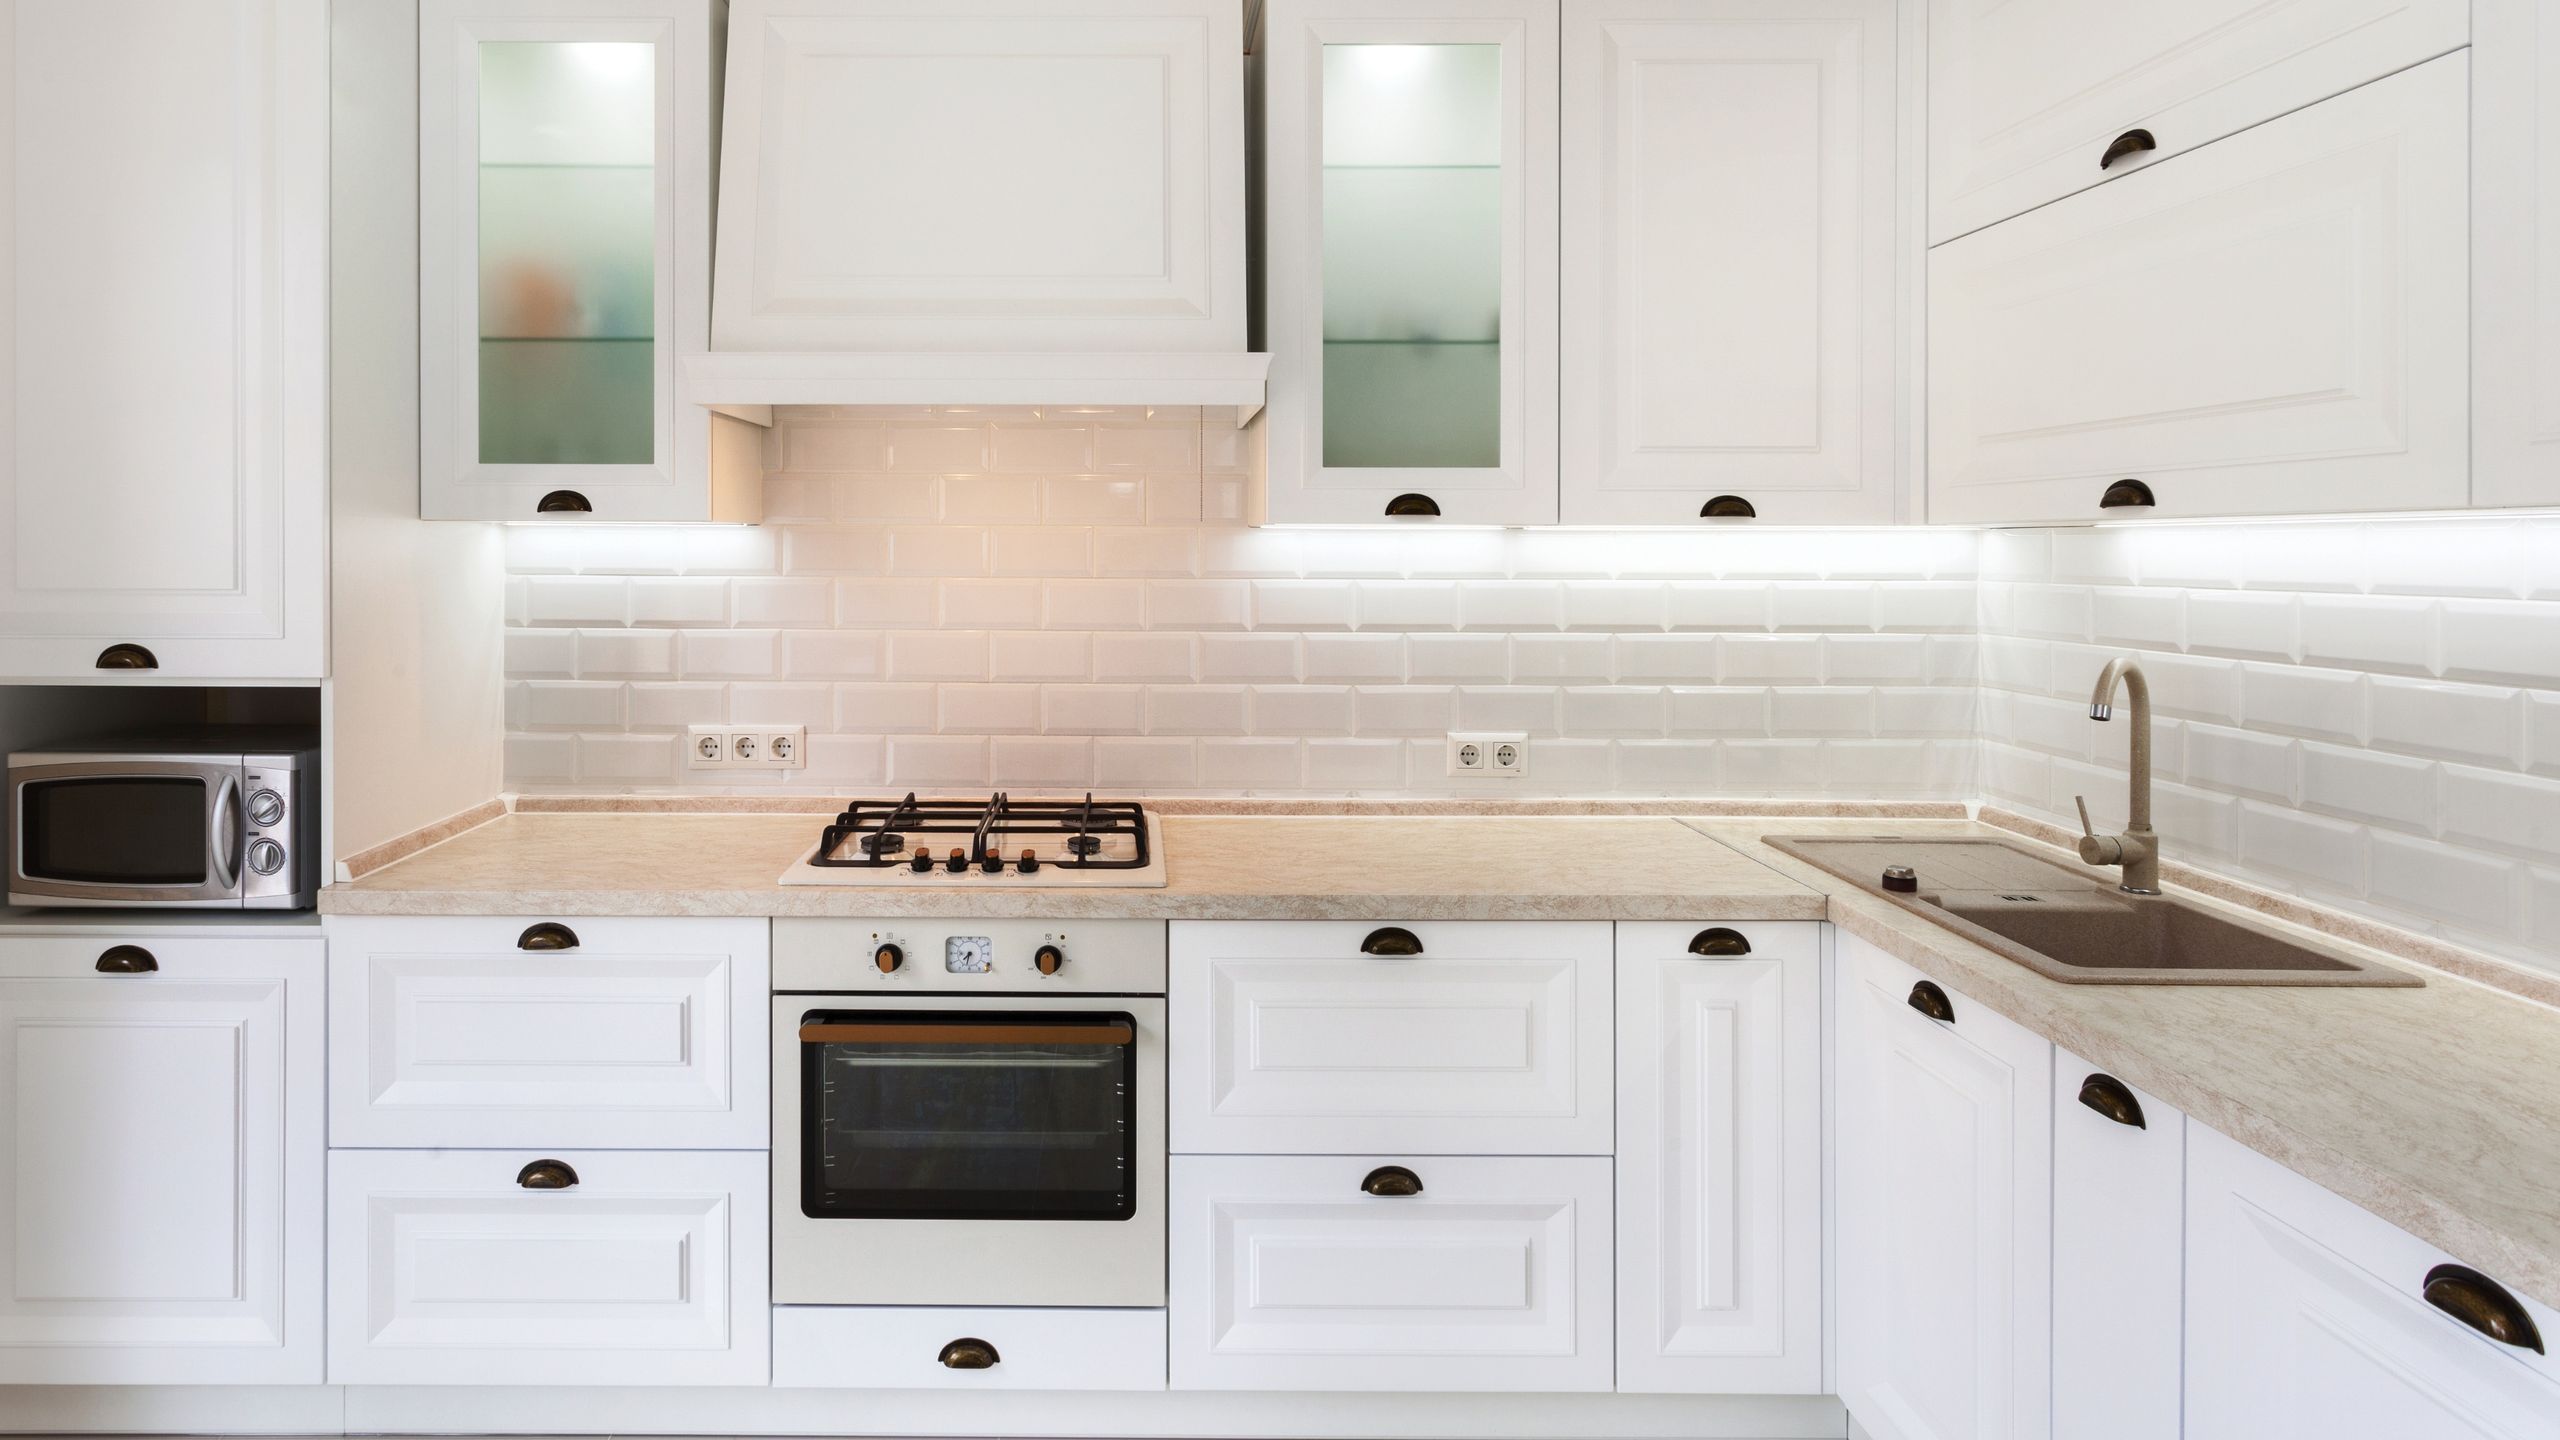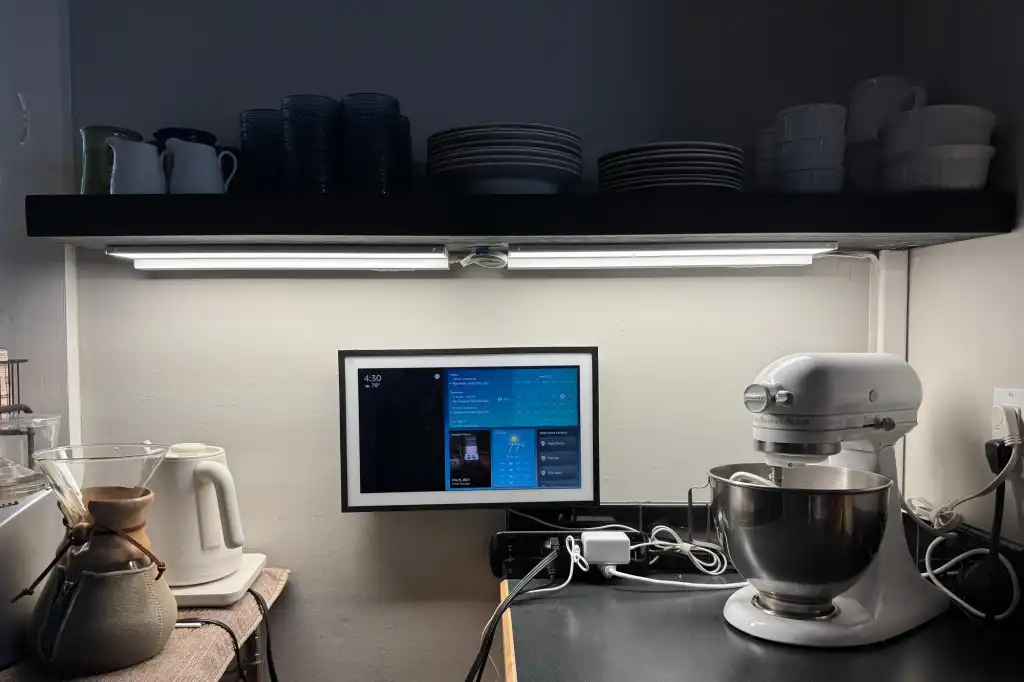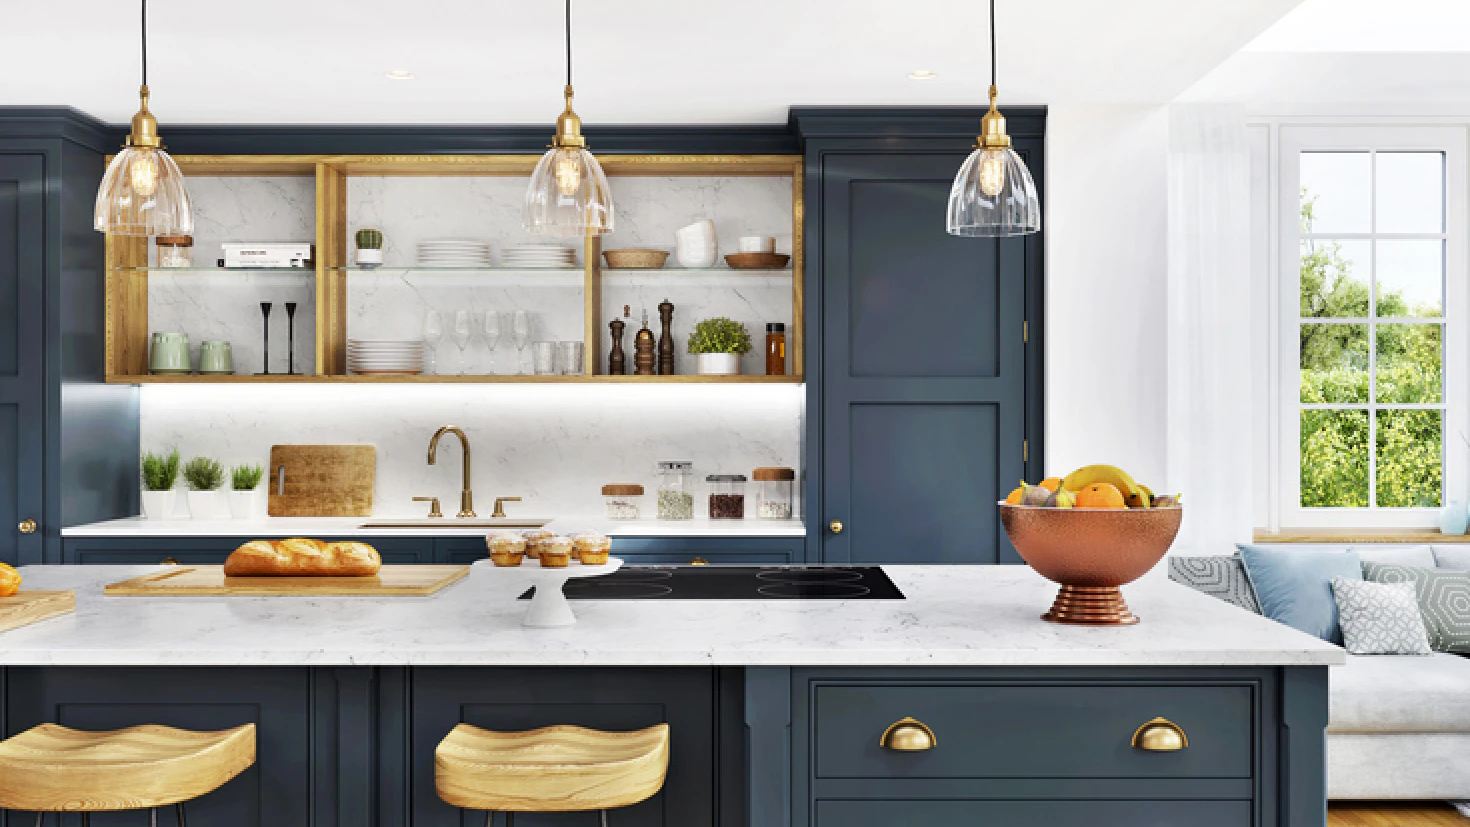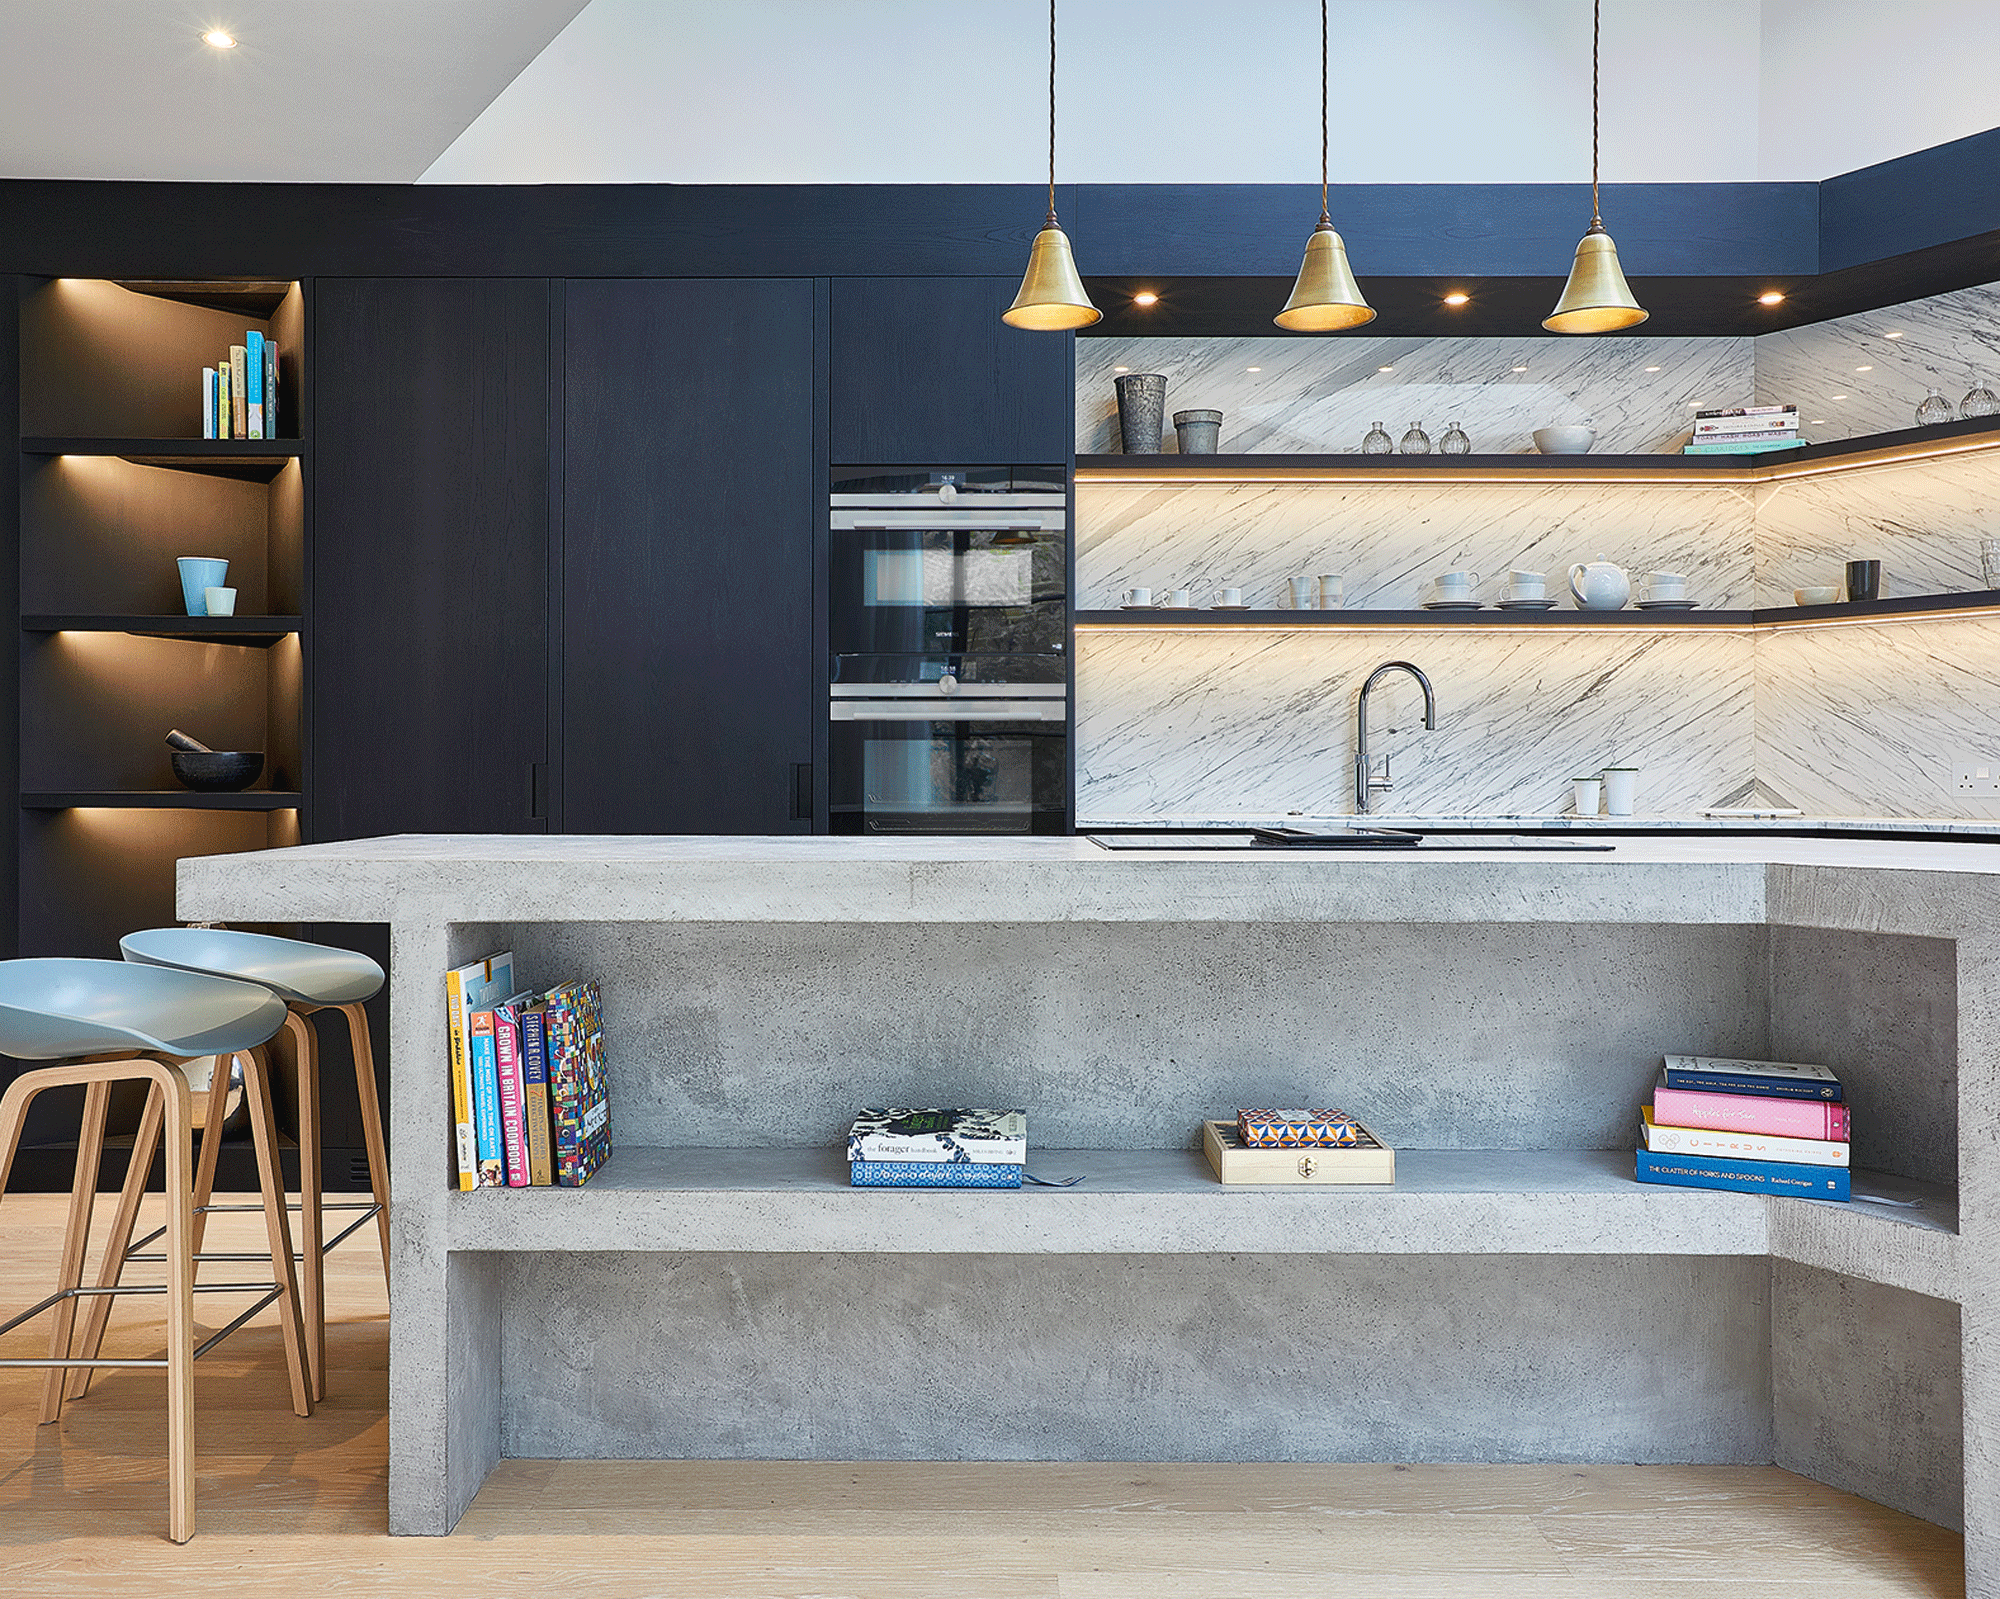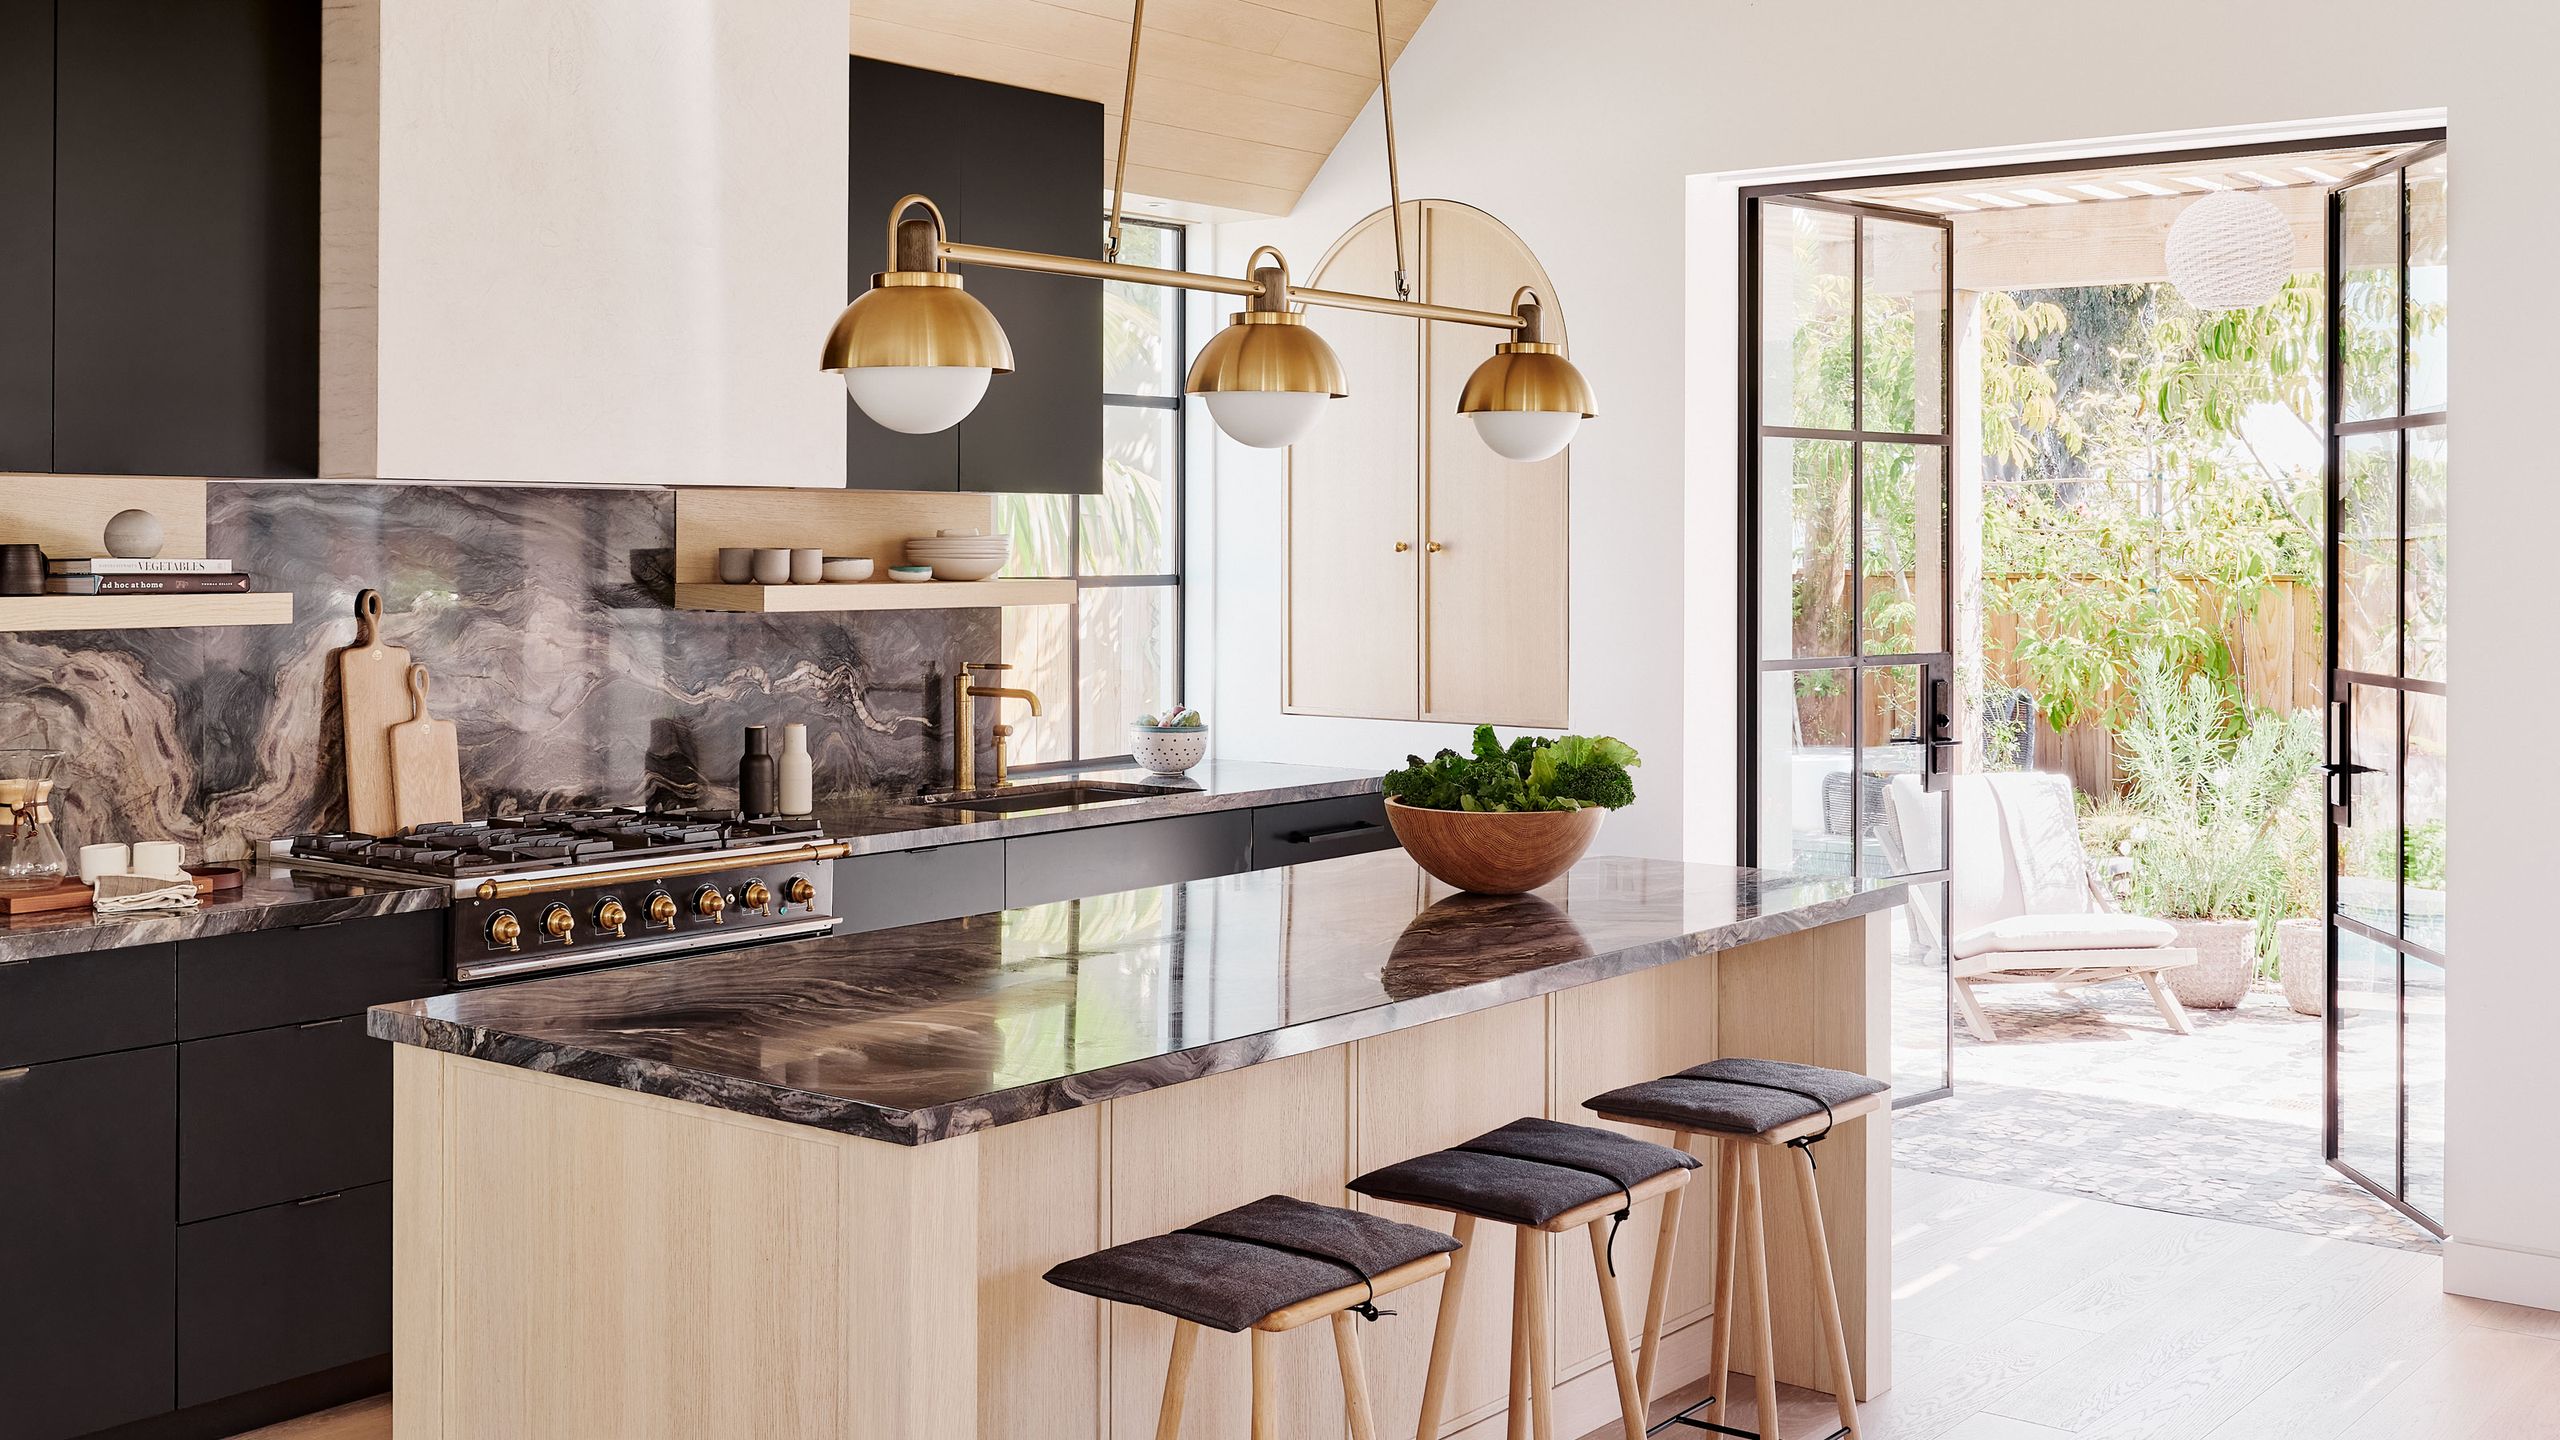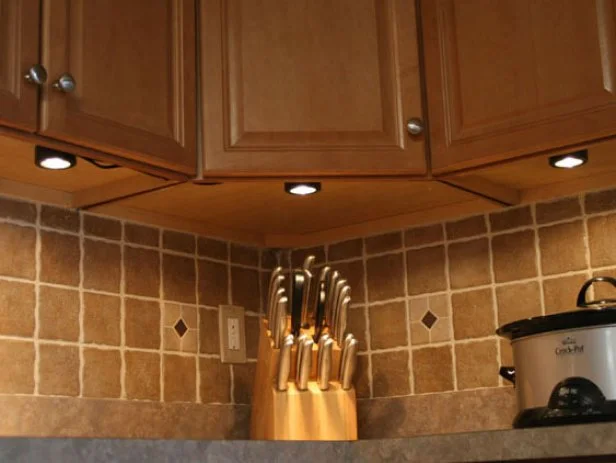
Under-cabinet lighting, such as spots or halogens, can enhance the kitchen's ambiance.
To install the lights, you will need the following materials: black puck lights (Hampton Bay 120v), a switch box, a dimmer, a wire-mold kit, crimp connector kit, 1/2" screws for lights, a cordless drill, a 3/8" drill bit, drywall jab saw, electrician's pliers, crimp tool, staple gun, torpedo level, wire nuts, wire staples, measuring tape, pencil, and safety glasses.
1. **Determine your power source.** In this case, power was sourced from the attic due to easy access. The hot wire was run down through a wire molding to the top of the cabinets. Alternatively, for those who prefer not to handle electrical work, lights can be plugged into an existing outlet.
2. **Install the lights.** For proper placement, center a light beneath each cabinet door, positioning them towards the front of the wall cabinets directly above the countertop. Secure the lights using 1/2" screws.
3. **Wire the lights.** Depending on the cabinet type, it may be more effective to run the wiring underneath the cabinets or from the top down. Face-frame cabinets have a recess for hiding wires, allowing for wiring to be done underneath. Conversely, overlay cabinets lack this feature, necessitating top wiring.
4. **Connect the wiring.** Once the lights are wired together, connect the hot wire (smooth side) to the switch. The neutral wire (ribbed) should connect to the house's white wire, while the black wire from the house connects to the other side of the switch. In summary: connect white to ribbed, black to switch, and smooth to switch.